
How to Repair Vinyl Siding
A practical homeowner's guide to fixing cracked, warped, and loose vinyl siding panels before small problems turn into bigger ones.
Vinyl siding is one of the most durable exterior cladding options available, but it is not immune to damage from impact, extreme weather, or simple age. A cracked panel or a section that has come loose from the wall can let moisture sneak behind the siding and cause real structural harm if left unaddressed. The good news is that many common repairs are manageable as a DIY project with the right tools and a little patience. This guide from Thermo-Seal - a Tri-State exterior remodeling contractor with nearly four decades of siding experience - walks you through diagnosing the damage, gathering what you need, and making a lasting repair.
Nature's Symphony
40 Years of Experience
Certified Professionals
Superior Workmanship with Proven Reputation
Stress-Free Process
Thermo-Seal DIY Guides
The Short Answer on Repairing Vinyl Siding
Signs Your Vinyl Siding Needs Repair
Catching damage early makes repairs simpler and less expensive. Watch for these warning signs:
- Visible cracks, splits, or holes in one or more panels
- Panels that have pulled away from the wall or are visibly buckled
- Sections that rattle or flap when the wind picks up
- Discoloration, soft spots, or bubbling on the panel surface
- Mold, mildew, or moisture staining on interior walls near an exterior siding run
- Missing panels after a storm or high winds
- Gaps at panel seams that were not there before
What Causes Vinyl Siding to Get Damaged
Understanding why the damage happened helps prevent it from recurring. Common causes include:
- Impact from hail, flying debris, lawn equipment, or falling branches
- Thermal expansion and contraction in extreme cold or heat, which can crack panels nailed too tightly
- Improper original installation - panels fastened without enough room to move will warp or buckle over time
- Age-related brittleness, which makes older siding especially vulnerable to cracking in winter
- Water getting behind panels due to failed caulk at windows, doors, or trim
- Wind uplift pulling panels out of their locking channels during storms
Tools and Materials You Will Need
- Zip tool (also called a siding removal tool)
- Hammer
- Flat pry bar
- Tin snips or utility knife
- Tape measure
- Replacement vinyl siding panel (matched to your existing profile and color)
- Galvanized roofing nails or siding nails
- Vinyl siding caulk in a matching color (for small cracks or seam sealing)
- Safety glasses
- Work gloves
- Ladder (if panels are above ground level)
Step-by-Step Instructions for Repairing Vinyl Siding
Step 1: Assess the Damage
Before touching anything, take a close look at the damaged area. Determine whether you are dealing with a cracked panel, a panel that has come unhooked, or a panel that needs to be replaced entirely. Also check the sheathing and house wrap beneath for any signs of moisture damage - soft or discolored sheathing is a signal to call a professional rather than proceed with a DIY patch.
Step 2: Unlock the Damaged Panel
Slide the hook end of a zip tool along the bottom edge of the panel above the damaged one. Apply gentle outward pressure and run it horizontally to disengage the locking channel. This reveals the nailing hem of the damaged panel below. Work carefully to avoid bending adjacent panels.
Step 3: Remove the Damaged Panel
Using a flat pry bar, carefully remove the nails along the top nailing hem of the damaged panel. Pull the panel down and out. If the panel is cracked but still partially intact, slide it out from one end. Take note of how the panel was overlapped with neighboring pieces so you can replicate that during reinstallation.
Step 4: Cut Your Replacement Panel
Measure the opening carefully and cut the replacement panel to length using tin snips or a utility knife and straightedge. Allow for a small gap at each end - typically around a quarter inch - to accommodate thermal expansion. Check manufacturer specifications for the specific product you are using, as recommendations can vary.
Step 5: Slide the New Panel Into Place
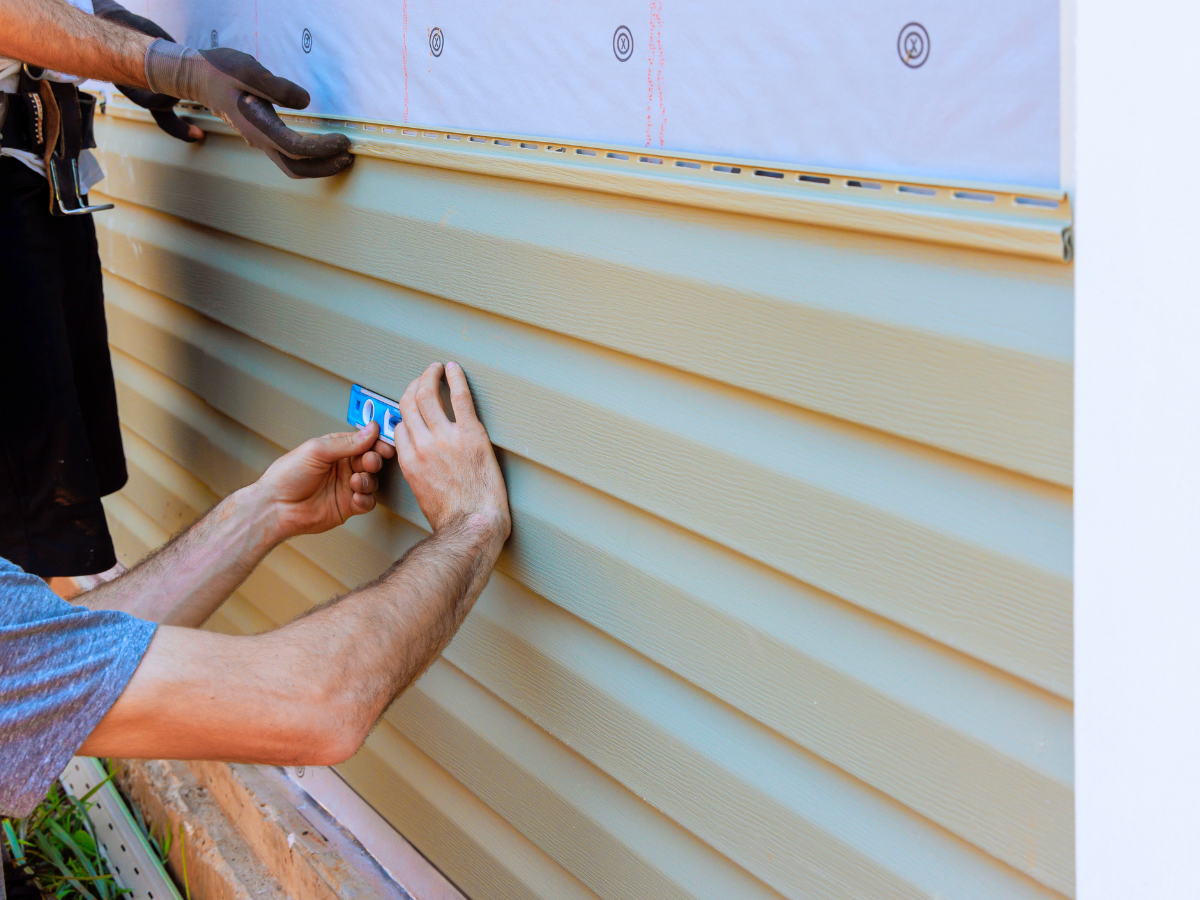
Hook the bottom of the replacement panel into the locking channel of the panel below it. Press firmly until you hear or feel it click into place along its full length. Make sure the overlap with adjacent panels matches the rest of the wall.
Step 6: Nail the Panel
Fasten the replacement panel through its nailing hem using galvanized nails. Drive each nail through the center of the nailing slot, not at the edges, so the panel can expand and contract freely. Do not overdrive the nails - the panel should be able to slide slightly side to side when installed correctly.
Step 7: Re-engage the Panel Above
Use the zip tool to hook the locking channel of the panel above back down over the top of your new panel. Run the tool along the full length of that panel to make sure it is fully seated. Step back and check the alignment visually before finishing.
Step 8: Seal Any Gaps at Trim or Seams
If the repair is near a window, door, or corner trim piece, inspect the caulk lines. Apply vinyl-compatible siding caulk to any open seams to prevent water infiltration. Smooth with a wet finger and allow to cure per the product instructions.
Safety Tips to Keep in Mind
- Wear safety glasses when cutting siding - small vinyl fragments can become projectiles
- Use work gloves, as cut siding edges are sharp
- Set up any ladder on stable, level ground and have a second person present when working above the first floor
- Avoid repairing siding in very cold weather if possible - vinyl becomes brittle below freezing and cracks more easily during handling
- Do not use power saws to cut vinyl siding without proper blade guards and eye protection
- If you discover damaged sheathing, rotted framing, or compromised house wrap, stop and consult a licensed contractor before continuing
When Siding Damage Points to a Bigger Problem
Some situations go beyond a simple panel swap and need professional evaluation. Watch for these red flags:
- Soft, spongy, or discolored sheathing or framing visible once a panel is removed
- A pattern of damage across multiple areas of the home suggesting a systemic moisture problem
- Siding that repeatedly comes loose in the same spot, which may indicate improper original installation or structural movement
- Interior water stains, mold, or peeling paint on walls adjacent to the damaged siding
- Damage covering a large section of the home after a major storm - this may qualify for an insurance claim
- Old siding that is brittle throughout, which often means the entire installation has aged out and replacement is more cost-effective than ongoing repairs
When It Is Time to Call a Siding Professional




Request A Free Estimate
Windows Purchase
Services We Offer:

Upgrade Your Home Now & Pay Later – Interest Free!
For a limited time, enjoy convenient financing with 0% interest for up to 25 months.
Contact Info.
Phone Number:
Email Address:
Showroom:
456 Sunrise Highway, Rockville Center NY 11570 - (516) 689-7214
Rye Corporate Office:
411 Theodore Fremd Avenue, Rye NY 10580 - (914) 635-3748
Stamford Office:
263 Tresser Blvd., Stamford, CT 06901 - (203) 990-1812
Melville Office:
68 South Service Road., Melville NY 11747 - (631) 710-6937
CLIENT REVIEWS
What Our Clients Are Saying About Us
Thermo-seal Windows provides exceptional customer service alongside high-quality products. Recently, I had the majority of my home's windows replaced by Aaron's team, and their performance was nothing short of impressive. They arrived on time, maintained a tidy work area, and dedicated themselves to ensuring a perfect installation of the windows.

Aaron and his team were amazing, from start to finish! They worked with us every step of the way and Aaron was always just a call or text away to answer any questions we had. The windows are perfect and we love them. We highly recommend working with Aaron and his team. They are professional, courteous and their work is top notch!
CONTACT US
Send us a Message
Window Installation Bottom
5.0+
GOOGLE RATING


