
How to Patch a Hole in Vinyl Siding
A practical walkthrough for repairing cracks, punctures, and small holes in vinyl siding before moisture causes bigger problems.
A stray baseball, a ladder slip, or a wayward branch can leave a hole in your vinyl siding - and ignoring it, even briefly, invites water behind the wall. Fortunately, small holes and cracks are usually manageable DIY repairs if you catch them early and use the right approach. This guide from Thermo-Seal, a Tri-State exterior remodeling contractor with nearly four decades of siding experience, walks you through the tools, steps, and warning signs you need to know.
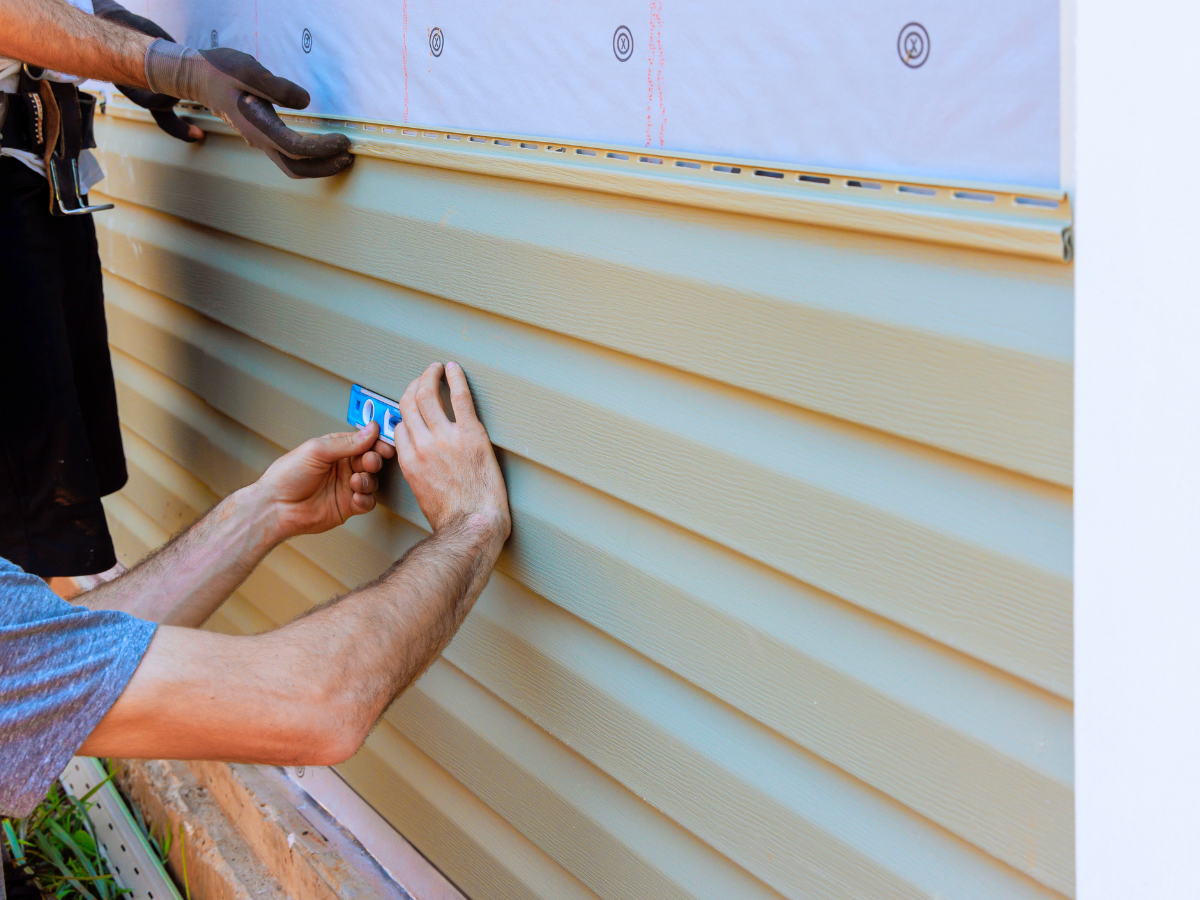
Nature's Symphony
40 Years of Experience
Certified Professionals
Superior Workmanship with Proven Reputation
Stress-Free Process
Thermo-Seal DIY Guides
The Short Answer on Patching Vinyl Siding
Signs Your Vinyl Siding Has a Hole or Crack Worth Fixing
Sometimes the damage is obvious, but other times it hides in plain sight. Watch for these indicators:
- A visible puncture, crack, or missing chunk in a panel
- Discoloration or bubbling paint on interior walls near the damaged area
- Musty odors inside the home near an exterior wall
- Visible daylight through a panel when viewed from inside an unfinished space
- Soft or spongy wall sheathing when you press near the damaged panel
- Insect activity around a crack, particularly wasps or carpenter bees
Common Causes of Holes and Cracks in Vinyl Siding
Understanding what caused the damage helps you choose the right repair and prevent a repeat. Typical culprits include:
- Impact damage from hail, debris, or objects (tools, toys, ladders)
- Extreme cold making vinyl brittle and prone to cracking on contact
- Improper installation that left panels too tight, causing stress fractures
- Woodpecker activity, which can create surprisingly clean round holes
- Age-related brittleness in older vinyl that was not UV-stabilized
- Pressure washing at too close a range or too high a PSI
Tools and Materials You Will Need
- Zip tool (siding removal tool)
- Utility knife or tin snips
- Replacement vinyl panel or scrap piece in a matching color and profile
- Vinyl color-match caulk or patch compound (for very small holes)
- Tape measure and pencil
- Straightedge or speed square
- Pry bar (small, flat)
- Galvanized roofing nails or siding nails
- Hammer
- Painter's tape
- Clean rags and mild detergent
Step-by-Step: How to Patch a Hole in Vinyl Siding
Step 1: Assess the Damage
Determine whether the hole is small enough for a filler repair or large enough to require a patch panel. As a general guide, holes smaller than about a half inch across can often be filled; anything larger typically calls for a cut-and-patch approach. Also check the surrounding panel for brittleness - if it crumbles when you press it, plan on replacing the full panel instead.
Step 2: Clean the Area
Wash the damaged section with a mild detergent and water. Rinse thoroughly and let it dry completely. Dirt and moisture underneath a repair are the main reasons patches fail prematurely.
Step 3: For Small Holes - Apply Vinyl Patch Compound or Caulk
If you are filling a small hole, load a color-matched exterior vinyl caulk or patch compound into the gap. Smooth it flush with a putty knife or your finger, wipe away excess immediately, and allow it to cure per the product label before exposing it to rain. Keep in mind this is a cosmetic and weather-seal fix, not a structural one.
Step 4: For Larger Holes - Unlock the Damaged Panel
Slide a zip tool (siding removal tool) along the bottom edge of the panel above the damaged one. The zip tool hooks into the locking channel and curls it open so you can lift the upper panel free without breaking it. Work gently - vinyl is less flexible in cold weather.
Step 5: Cut Out the Damaged Section
Using a utility knife and straightedge, score and snap out a rectangle around the damaged area, cutting at least an inch past the damage on each side. Make your cuts at the center of a stud when possible for better nailing support. Remove any loose nails from the area.
Step 6: Cut the Patch Piece
From your replacement panel, cut a piece roughly two inches wider on each side than your cutout. Score the nailing hem off the top edge of the patch piece so it can slide cleanly under the panel above. A patch that is too tight will buckle; leave a small gap - roughly an eighth of an inch on each side - to allow for thermal expansion.
Step 7: Secure the Patch
Slide the bottom of the patch up into the locking channel of the panel below. Nail through the nailing hem at the top, spacing nails about every sixteen inches and driving them into studs where possible. Do not nail too tight - the panel should be able to shift slightly side to side.
Step 8: Re-lock the Upper Panel
Press the upper panel back down over the patch so its locking channel snaps onto the patch's top edge. Run your zip tool or fingers along the seam to confirm it is fully seated. Step back and check the alignment from a few feet away.
Safety Tips to Keep in Mind
- Work on a dry day - wet vinyl is slippery and patch materials will not cure properly in damp conditions
- Avoid working on vinyl siding in temperatures below about 40 degrees Fahrenheit - cold panels crack easily
- Use a stable ladder on level ground and have a second person hold it if you are working above the first floor
- Wear work gloves when cutting vinyl panels - the cut edges are sharp
- Do not use a pressure washer to clean the area before patching - a garden hose and cloth are safer for this step
- Wear safety glasses when cutting or snapping vinyl pieces
When a Patched Hole Points to a Bigger Problem
A single small hole is usually just that - a localized fix. But certain situations suggest the damage runs deeper:
- Multiple holes or cracks scattered across the same wall may indicate widespread hail damage requiring insurance review
- Soft or wet sheathing behind the panel suggests water has been infiltrating for some time, and the underlying structure may need attention before re-siding
- Mold or rot visible once the panel is removed means moisture has breached the wall assembly
- Panels that crack the moment you touch them are likely at the end of their service life - patching buys little time
- Recurring holes in the same area without an obvious impact cause can signal a woodpecker infestation or a pest entry point that needs professional attention
- Panels that have warped, bowed, or separated from the wall suggest an installation issue that patching alone will not resolve
Not Sure the Repair Is Holding? Call the Siding Pros at Thermo-Seal




Request A Free Estimate
Windows Purchase
Services We Offer:

Upgrade Your Home Now & Pay Later – Interest Free!
For a limited time, enjoy convenient financing with 0% interest for up to 25 months.
Contact Info.
Phone Number:
Email Address:
Showroom:
456 Sunrise Highway, Rockville Center NY 11570 - (516) 689-7214
Rye Corporate Office:
411 Theodore Fremd Avenue, Rye NY 10580 - (914) 635-3748
Stamford Office:
263 Tresser Blvd., Stamford, CT 06901 - (203) 990-1812
Melville Office:
68 South Service Road., Melville NY 11747 - (631) 710-6937
CLIENT REVIEWS
What Our Clients Are Saying About Us
Thermo-seal Windows provides exceptional customer service alongside high-quality products. Recently, I had the majority of my home's windows replaced by Aaron's team, and their performance was nothing short of impressive. They arrived on time, maintained a tidy work area, and dedicated themselves to ensuring a perfect installation of the windows.

Aaron and his team were amazing, from start to finish! They worked with us every step of the way and Aaron was always just a call or text away to answer any questions we had. The windows are perfect and we love them. We highly recommend working with Aaron and his team. They are professional, courteous and their work is top notch!
CONTACT US
Send us a Message
Window Installation Bottom
5.0+
GOOGLE RATING


