
How to Paint Aluminum Siding
A practical walkthrough for cleaning, priming, and painting aluminum siding so the finish holds up season after season.
Aluminum siding can look faded, chalky, or worn long before it actually needs replacing - and in many cases, a fresh coat of paint is all it takes to restore curb appeal and add years of life. The process requires more prep than most homeowners expect, but it is very doable with the right materials and patience. This guide from Thermo-Seal, a Tri-State exterior remodeling contractor with nearly four decades of experience, walks you through every step from surface prep to final coat.
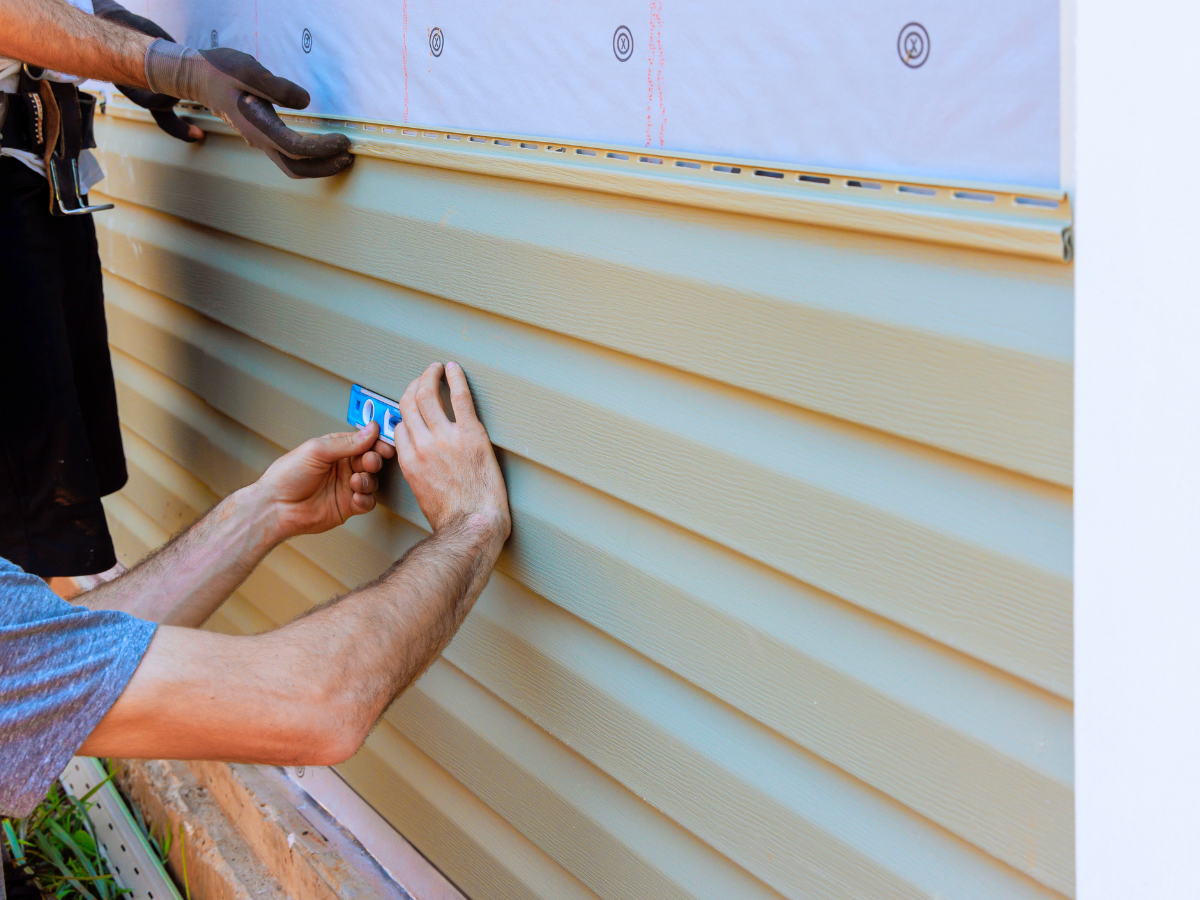
Nature's Symphony
40 Years of Experience
Certified Professionals
Superior Workmanship with Proven Reputation
Stress-Free Process
Thermo-Seal DIY Guides
The Short Answer on Painting Aluminum Siding
Signs Your Aluminum Siding Is Ready for a Fresh Coat
Not sure if paint is the right move? Watch for these common indicators:
- Chalking: a white powdery residue that rubs off on your hand when you touch the surface
- Widespread fading or a dull, washed-out appearance that has changed noticeably from the original color
- Peeling or flaking paint, especially on south- and west-facing walls that get the most sun
- Light surface oxidation that gives the panels a slightly rough or pitted texture
- Small scratches or scuffs that expose bare metal underneath
- The siding is structurally sound but looks dated and is dragging down the home's appearance
Why Aluminum Siding Loses Its Finish Over Time
Understanding what causes the deterioration helps you address it correctly before painting.
- UV exposure breaks down the original factory finish and any previous paint layers, causing oxidation and chalking
- Humidity and temperature swings common in the Northeast cause the metal to expand and contract, which stresses paint bonds over time
- Improper surface prep on a previous paint job means new paint was applied over chalk or contamination, shortening its lifespan
- Use of the wrong paint type - oil-based or interior-grade products - which cannot flex with metal movement
- Physical damage from hail, debris, or ladders that chips through to bare aluminum, creating spots where moisture and rust can develop
Tools and Materials You Will Need
- Garden hose or pressure washer (low to medium setting)
- Trisodium phosphate (TSP) cleaner or a dedicated siding wash solution
- Stiff-bristle scrub brush
- Painter's tape and plastic sheeting for masking
- Medium-grit sanding sponges or 80-to-120-grit sandpaper
- Wire brush or nylon brush for stubborn oxidation
- Metal bonding primer formulated for aluminum (water-based or acrylic)
- High-quality 100% acrylic exterior paint in your chosen color
- Paint roller with a 3/8-to-1/2-inch nap cover
- Angled paintbrush (2 to 3 inch) for trim and edges
- Airless paint sprayer (optional but speeds up large surfaces)
- Drop cloths
- Safety glasses and a respirator rated for paint fumes
- Extension ladder in good condition
Step-by-Step Instructions for Painting Aluminum Siding
Step 1: Choose the Right Day
Avoid painting in direct intense sunlight, when temperatures are below 50 degrees F or above 90 degrees F, or when rain is expected within 24 hours. Overcast, mild days with low humidity produce the best adhesion. Check the forecast for a two-day window of dry weather.
Step 2: Protect Surrounding Areas
Cover landscaping, walkways, windows, doors, and any trim you do not plan to paint with drop cloths and painter's tape. Remove or mask off light fixtures, shutters, and downspouts where possible.
Step 3: Wash the Siding Thoroughly
Mix TSP or a similar degreasing cleaner per the product label and scrub the entire surface with a stiff brush, working from top to bottom. A pressure washer set to a low or medium pressure can speed things up - avoid high pressure, which can dent or bend aluminum panels. Rinse completely and allow the surface to dry for at least 24 hours.
Step 4: Remove Chalk and Loose Paint
Rub a rag across the surface. If chalk transfers, you need to remove it. Sand chalky or oxidized areas with 80-to-120-grit sandpaper or a wire brush until the surface has some texture and transfers minimal residue. Wipe away dust with a damp cloth and let dry fully.
Step 5: Spot-Prime Any Bare Metal
Anywhere you can see raw aluminum, apply a metal bonding primer to seal the exposed area before priming the full surface. This prevents rust staining from bleeding through your topcoat.
Step 6: Apply a Full Coat of Bonding Primer
Using a roller for field areas and a brush for edges and joints, apply an even coat of bonding primer rated for aluminum or metal. Work in manageable sections and maintain a wet edge to avoid lap marks. Let the primer dry completely according to the manufacturer's drying time before moving on.
Step 7: Paint the First Topcoat
Apply 100% acrylic exterior paint using a roller, brush, or sprayer. Start at the top and work downward. Keep strokes consistent with the direction of the panels. Thin, even coats bond better than one thick coat and reduce the risk of drips or sagging.
Step 8: Apply the Second Topcoat
Allow the first coat to dry fully - typically four to six hours depending on conditions - then apply a second coat. Two coats give you even coverage, better color depth, and a more durable finish. Once dry, remove painter's tape carefully at a 45-degree angle to get a clean line.
Safety Tips to Keep in Mind Before You Start
- Homes built before 1978 may have lead paint. If you suspect lead, have the surface tested before sanding. Thermo-Seal is an EPA Lead-Safe Certified Firm, and for older homes, professional handling is often the safer call.
- Always set ladders on firm, level ground and have a second person nearby when working at height.
- Wear safety glasses and a respirator rated for paint vapors - not just a dust mask.
- Keep paint and primer away from drains and landscaping. TSP and paint runoff can harm plants and waterways.
- Do not use open flames or power tools that generate sparks near open cans of solvent-based primer.
- Never lean or reach too far from a ladder. Reposition it frequently rather than stretching.
When Peeling Paint Points to a Bigger Problem
Sometimes deteriorating paint is a symptom of an issue that goes beyond aesthetics. Watch for these red flags that suggest a professional assessment is needed:
- Dents, cracks, or buckled panels that will not hold paint evenly and may compromise moisture protection
- Widespread rust staining under peeling paint, which indicates long-term moisture infiltration
- Soft or rotted sheathing discovered when panels are temporarily lifted - a sign that water has been getting behind the siding
- Paint peeling repeatedly in the same spot after multiple repaints, which can point to air leakage or condensation issues behind the wall
- Damaged caulking around windows, doors, or penetrations allowing water to track behind the siding
- Significant gaps, nail pops, or loose sections that compromise the siding's ability to protect the structure
Not Sure If Paint Is Enough? Talk to a Siding Expert



Request A Free Estimate
Windows Purchase
Services We Offer:

Upgrade Your Home Now & Pay Later – Interest Free!
For a limited time, enjoy convenient financing with 0% interest for up to 25 months.
Contact Info.
Phone Number:
Email Address:
Showroom:
456 Sunrise Highway, Rockville Center NY 11570 - (516) 689-7214
Rye Corporate Office:
411 Theodore Fremd Avenue, Rye NY 10580 - (914) 635-3748
Stamford Office:
263 Tresser Blvd., Stamford, CT 06901 - (203) 990-1812
Melville Office:
68 South Service Road., Melville NY 11747 - (631) 710-6937
CLIENT REVIEWS
What Our Clients Are Saying About Us
Thermo-seal Windows provides exceptional customer service alongside high-quality products. Recently, I had the majority of my home's windows replaced by Aaron's team, and their performance was nothing short of impressive. They arrived on time, maintained a tidy work area, and dedicated themselves to ensuring a perfect installation of the windows.

Aaron and his team were amazing, from start to finish! They worked with us every step of the way and Aaron was always just a call or text away to answer any questions we had. The windows are perfect and we love them. We highly recommend working with Aaron and his team. They are professional, courteous and their work is top notch!
CONTACT US
Send us a Message
Window Installation Bottom
5.0+
GOOGLE RATING


