
How to Replace Missing Shingles
A practical walkthrough for patching bare spots on your roof before water damage has a chance to take hold.
A missing shingle or two might seem minor, but even a small gap in your roof's surface can let rain, wind, and debris work their way into the underlayment and decking beneath. The good news is that replacing a handful of shingles is a manageable DIY repair for a confident homeowner who is comfortable working at heights. This guide from Thermo-Seal - a GAF Master Elite roofing contractor serving homeowners across New York, New Jersey, and Connecticut since 1985 - walks you through every step, from gathering materials to nailing the final course.
Nature's Symphony
40 Years of Experience
Certified Professionals
Superior Workmanship with Proven Reputation
Stress-Free Process
Thermo-Seal DIY Guides
The Short Answer on Replacing Missing Shingles
Signs That Shingles Are Missing or About to Come Loose
Catching the problem early keeps a small fix from becoming a costly one. Watch for these warning signs:
- Bare patches of dark underlayment or wood visible from the ground
- Shingle pieces or granules collected in gutters or on the lawn after a storm
- Curling, lifting, or cracked tabs on surrounding shingles that are close to blowing off
- Water stains or damp spots on attic insulation or ceiling boards inside the home
- Daylight visible through the roof deck when you look up from the attic
Why Shingles Go Missing in the First Place
Understanding the cause helps you prevent the same problem from recurring after the repair. Common reasons include:
- High winds that lift tabs when the adhesive strip has dried out or was never properly sealed
- Age-related brittleness that causes shingles to crack and break apart during storms
- Improper original installation - too few nails, nails placed too high, or nails driven at an angle
- Ice dam damage that forces shingles up and away from the deck over repeated freeze-thaw cycles
- Physical impact from falling branches, hail, or foot traffic during previous roof work
Tools and Materials You Will Need
- Replacement shingles matching your existing roof (bring a sample or photo to the supplier)
- Roofing nails - typically 1-1/4 inch or longer galvanized nails
- Roofing cement or asphalt-based sealant
- Pry bar or flat bar
- Hammer or roofing hatchet
- Utility knife
- Caulk gun
- Ladder rated for your roof height
- Non-slip footwear
- Safety harness if the pitch is steep
Step-by-Step Instructions for Replacing Missing Shingles
Step 1: Inspect the Area Carefully
Before carrying anything up the ladder, scan the repair zone and the rows above it. Check whether the underlayment is intact. If the felt or synthetic underlayment is torn or rotted, patch it with roofing tape or a small piece of new underlayment before placing any shingles. Also press on the decking - if it feels spongy, there may be moisture damage underneath that needs attention before you proceed.
Step 2: Loosen the Surrounding Shingles
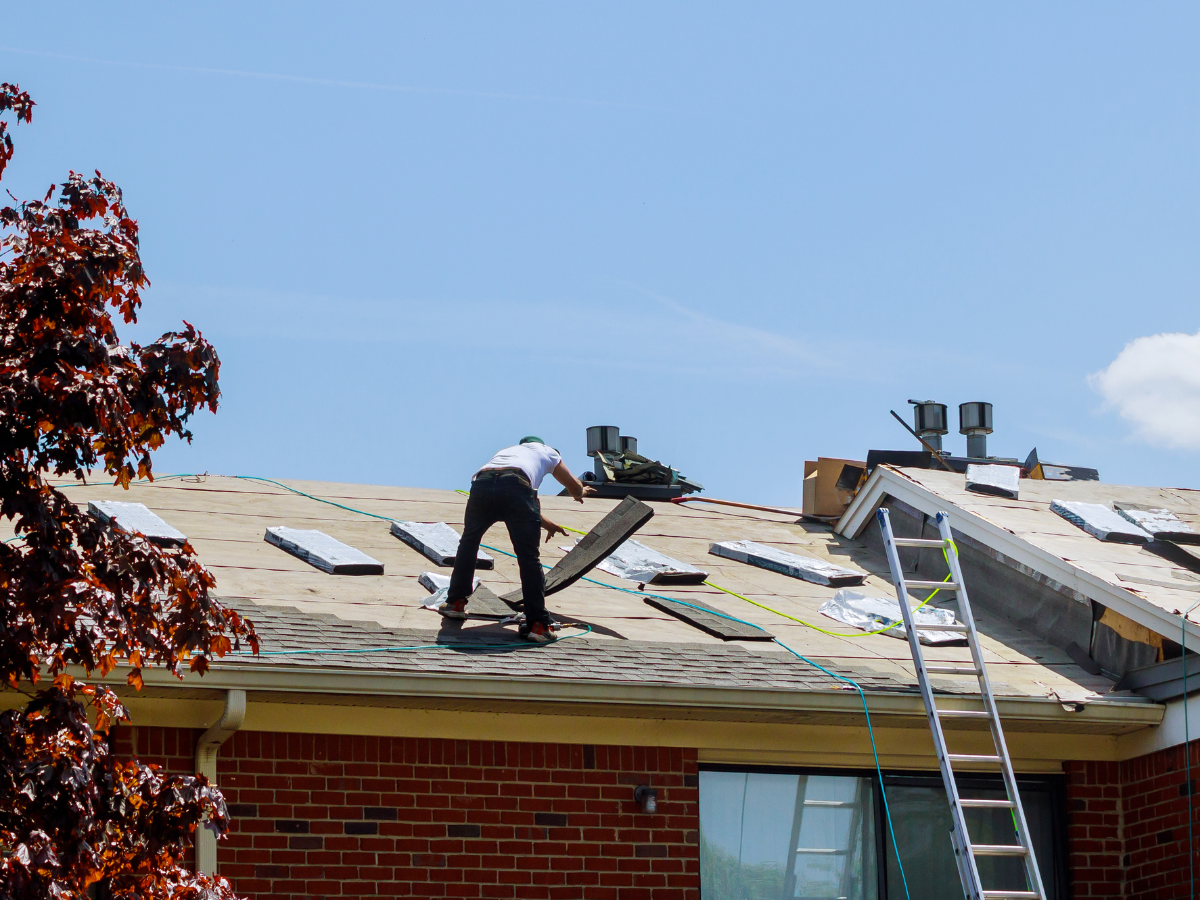
Shingles overlap in courses, so you need to free the tabs above the gap before you can slide a new shingle into position. Gently lift the edges of the shingles in the row directly above your repair area using a flat bar. Work slowly to avoid cracking the existing shingles, especially in cooler weather. Pull or flatten any nails that are holding down the overlapping tabs.
Step 3: Slide the New Shingle Into Position
Slip the replacement shingle under the lifted tabs above and align its bottom edge with the shingles in the same course on either side. Make sure the cutouts (slots between tabs) line up with those on neighboring shingles. The shingle should sit flat with no buckling or gaps.
Step 4: Nail the Shingle
Drive roofing nails through the shingle along the nail line - the area just above the adhesive strip, roughly one inch from each edge and spaced according to manufacturer specs (commonly every six to twelve inches). Nail heads should sit flush, not driven through the surface. Most standard three-tab shingles take four nails; architectural (dimensional) shingles may require more - check the product instructions.
Step 5: Re-secure the Overlapping Tabs
Press the lifted tabs back down over your new shingle. If the adhesive strip on those older shingles no longer bonds on its own, apply a small dab of roofing cement under each tab and press firmly. This restores the wind seal that holds everything in place.
Step 6: Seal the Edges
Apply a thin bead of roofing cement along the edges of the new shingle where it meets neighboring shingles, and under any tab corners that feel loose. Do not over-apply - thick blobs of sealant can trap moisture rather than shed it. Smooth the cement with a putty knife so it sits flat.
Step 7: Check Your Work from the Ground
Descend carefully and step back to look at the repair from street level. The replaced shingle should sit flush and blend reasonably well with the surrounding course. Look for any lifted edges or misaligned tabs and go back up to correct them if needed.
Safety Tips Before You Step on the Roof
- Never work on a wet, icy, or frost-covered roof surface
- Use a sturdy extension ladder that extends at least three feet above the roofline and is secured at the base
- Wear rubber-soled shoes with good grip - sneakers or dedicated roofing boots work well
- On any roof with a pitch steeper than a gentle slope, wear a properly fitted safety harness anchored to a roof bracket
- Work with a second person who can steady the ladder and call for help if needed
- Avoid walking on the shingles any more than necessary - step on the top half of each shingle, not the tab
- In warm weather, surfaces can be hot enough to cause burns - wear long pants and gloves
When Missing Shingles Point to a Bigger Roofing Problem
Replacing a shingle or two is straightforward, but certain signs suggest the issue goes deeper than a spot repair can fix. Consider calling a professional if you notice:
- Multiple shingles missing across several areas of the roof, which often points to widespread adhesive failure or systemic wind damage
- Shingles that are heavily granule-depleted across the whole surface, indicating the roof is near the end of its service life
- Soft or discolored decking visible where shingles were removed, suggesting rot or prolonged moisture intrusion
- Sagging ridgelines or visible dips in the roof plane, which can signal structural issues beneath the deck
- Persistent interior leaks or attic moisture that does not resolve after the surface repair
- A roof that has already been repaired multiple times and continues to lose shingles after normal storms
Trust Thermo-Seal for Roofing Repairs Across the Tri-State Area




Request A Free Estimate
Windows Purchase
Services We Offer:

Upgrade Your Home Now & Pay Later – Interest Free!
For a limited time, enjoy convenient financing with 0% interest for up to 25 months.
Contact Info.
Phone Number:
Email Address:
Showroom:
456 Sunrise Highway, Rockville Center NY 11570 - (516) 689-7214
Rye Corporate Office:
411 Theodore Fremd Avenue, Rye NY 10580 - (914) 635-3748
Stamford Office:
263 Tresser Blvd., Stamford, CT 06901 - (203) 990-1812
Melville Office:
68 South Service Road., Melville NY 11747 - (631) 710-6937
CLIENT REVIEWS
What Our Clients Are Saying About Us
Thermo-seal Windows provides exceptional customer service alongside high-quality products. Recently, I had the majority of my home's windows replaced by Aaron's team, and their performance was nothing short of impressive. They arrived on time, maintained a tidy work area, and dedicated themselves to ensuring a perfect installation of the windows.

Aaron and his team were amazing, from start to finish! They worked with us every step of the way and Aaron was always just a call or text away to answer any questions we had. The windows are perfect and we love them. We highly recommend working with Aaron and his team. They are professional, courteous and their work is top notch!
CONTACT US
Send us a Message
Window Installation Bottom
5.0+
GOOGLE RATING


