
How to Fix a Leaking Roof
A practical homeowner's guide to identifying the source of a roof leak, making temporary repairs, and knowing when to call in a professional.
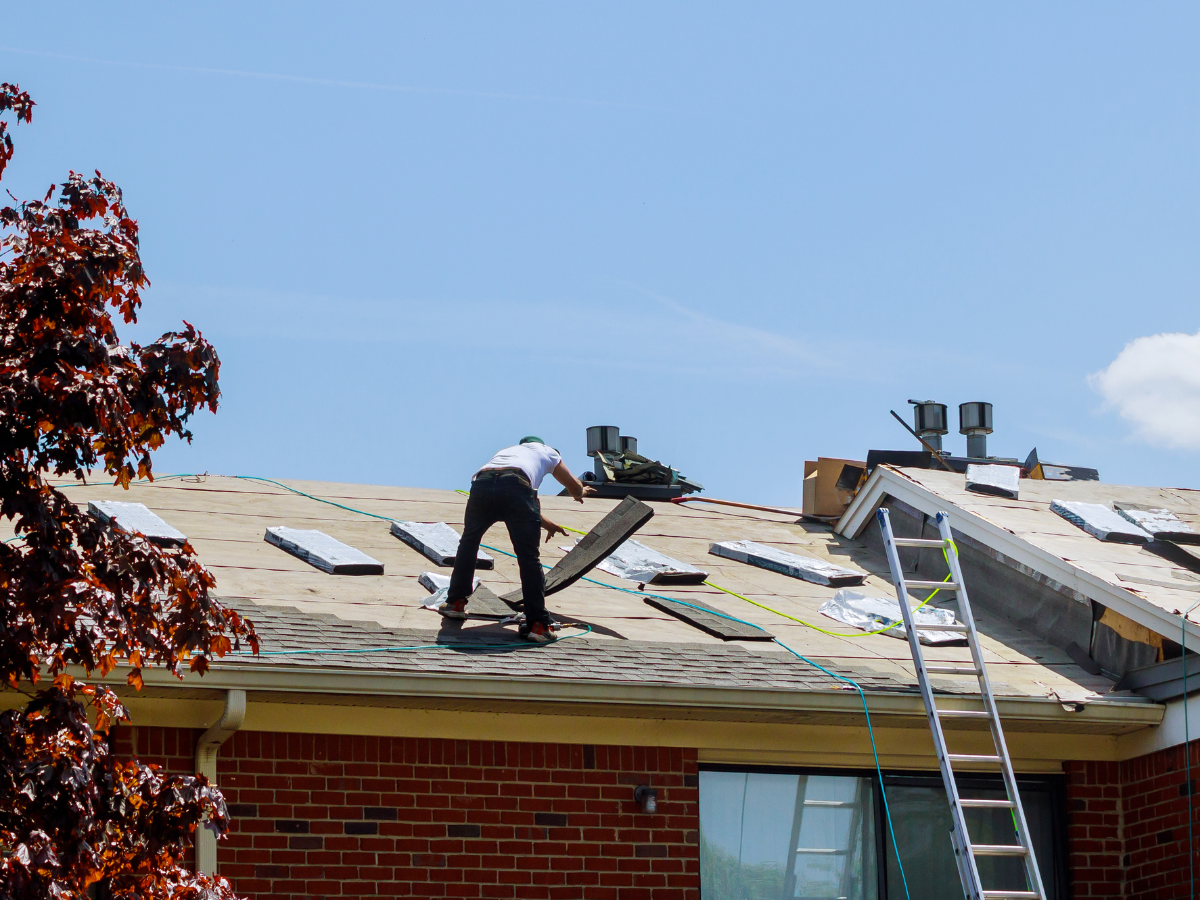
A leaking roof can feel urgent and overwhelming, but in many cases you can slow or stop the damage while you arrange a proper repair. The key is acting quickly - water that gets past your roof deck can reach insulation, framing, and ceilings fast. This guide from Thermo-Seal walks you through locating the leak, making a safe temporary fix, and understanding when the damage calls for professional attention.
Nature's Symphony
40 Years of Experience
Certified Professionals
Superior Workmanship with Proven Reputation
Stress-Free Process
Thermo-Seal DIY Guides
The Quick Answer on Fixing a Roof Leak
Warning Signs That Your Roof Is Leaking
Catching a leak early limits the damage it can do. Watch for these indicators:
- Water stains or brown rings on interior ceilings or walls
- Paint that is bubbling or peeling near the roofline
- Damp or musty odors in the attic
- Daylight visible through the attic roof boards
- Sagging or soft spots on the ceiling
- Shingle granules collecting in gutters or at downspout outlets
- Visible mold or mildew growth in corners of rooms near the roof
Common Causes of a Leaking Roof
Understanding what caused the leak helps you target the right repair. Frequent culprits include:
- Cracked, curled, or missing asphalt shingles from age or storm impact
- Failed or lifted flashing around chimneys, skylights, vents, and valleys
- Clogged gutters forcing water to back up under the roof edge
- Deteriorated or improperly installed pipe boot seals
- Ice dams in winter climates like New York, New Jersey, and Connecticut that force meltwater under shingles
- Worn or cracked roof sealant around penetrations
- Inadequate attic ventilation causing moisture buildup from below
Tools and Materials You Will Need
- Safety harness and non-slip footwear
- Sturdy extension ladder
- Pry bar or flat bar
- Hammer and roofing nails
- Utility knife
- Roofing cement or roofing sealant
- Self-adhering flashing tape or roll flashing
- Replacement shingles matching your existing roof
- Wire brush or stiff broom for cleaning the repair area
- Caulk gun
- Waterproof gloves
Step-by-Step Guide to Fixing a Leaking Roof
Step 1: Locate the Leak From Inside First
Before climbing onto the roof, go into the attic during daylight or during rain. Look for water trails, stains, or any pinhole of light coming through the roof deck. Mark the spot so you can measure its distance from a gable wall or ridge vent - this helps you find the same spot from outside.
Step 2: Inspect the Roof Safely From the Ground
Using binoculars from the ground, scan for obvious damage - lifted shingles, missing sections, or dark discoloration. Check around all penetrations including chimneys, skylights, and vents. Only climb onto the roof if conditions are dry, the pitch is manageable, and you have a proper safety harness and someone present to assist.
Step 3: Clear Debris and Dry the Area
Remove leaves, moss, and loose granules from the suspected leak zone. A dry, clean surface is essential for any sealant or patch to bond properly. A wire brush works well for clearing loose material from around flashing.
Step 4: Fix Damaged or Missing Shingles
If a shingle is cracked, slide a flat bar under it to lift the overlapping shingles above. Remove the damaged shingle by pulling out the nails. Slide in a replacement shingle, nail it at the top corners, and press the overlapping shingles back down. Apply a small amount of roofing cement under the edges to seal them flat.
Step 5: Re-seal Lifted or Cracked Flashing
Flashing failures are one of the most common causes of leaks. Press any lifted metal flashing back into place and apply roofing cement underneath and along the seam. If the flashing is badly corroded or bent out of shape, it should be replaced rather than patched. Replacing flashing involves removing surrounding shingles, cutting new metal to fit, and re-nailing - a job best handled by a professional if you are not experienced.
Step 6: Seal Around Pipe Boots and Vents
Rubber pipe boot seals crack over time. If the rubber collar around a vent pipe is split or pulling away, apply a generous bead of roofing sealant around the base. For significant deterioration, a replacement boot kit is inexpensive and usually slips over the existing pipe without removing shingles.
Step 7: Apply a Temporary Patch If Needed
If you cannot identify or fully repair the source before the next rain, apply self-adhering flashing tape over the suspected area as a short-term measure. Press it firmly to the surface, smooth out any air bubbles, and overlap edges by at least two inches. This buys time but is not a permanent solution.
Safety Tips for Working on a Roof
- Never work on a wet, icy, or frost-covered roof surface
- Always use a properly rated safety harness attached to a secure anchor point
- Have a second person on the ground whenever you are on a ladder or roof
- Wear rubber-soled, non-slip footwear
- Avoid working near power lines or during high winds
- Keep your center of gravity low and move slowly on steep pitches
- If the roof pitch is steep or the damage is near the ridge, stop and call a professional
When a Leaking Roof Points to a Bigger Problem
Some leaks are a symptom of deeper damage that a surface patch will not solve. Watch for these red flags:
- Multiple leaks appearing in different areas at the same time
- Widespread shingle granule loss indicating the roof is nearing the end of its lifespan
- Sagging or spongy areas on the roof deck suggesting rotted sheathing
- Mold spreading across attic framing or insulation
- Interior water damage that has reached walls or structural elements
- Recurring leaks in the same spot despite repeated patching
- Storm or hail damage visible across a large portion of the roof surface
Get Expert Help From a Trusted Local Roofing Team




Request A Free Estimate
Windows Purchase
Services We Offer:

Upgrade Your Home Now & Pay Later – Interest Free!
For a limited time, enjoy convenient financing with 0% interest for up to 25 months.
Contact Info.
Phone Number:
Email Address:
Showroom:
456 Sunrise Highway, Rockville Center NY 11570 - (516) 689-7214
Rye Corporate Office:
411 Theodore Fremd Avenue, Rye NY 10580 - (914) 635-3748
Stamford Office:
263 Tresser Blvd., Stamford, CT 06901 - (203) 990-1812
Melville Office:
68 South Service Road., Melville NY 11747 - (631) 710-6937
CLIENT REVIEWS
What Our Clients Are Saying About Us
Thermo-seal Windows provides exceptional customer service alongside high-quality products. Recently, I had the majority of my home's windows replaced by Aaron's team, and their performance was nothing short of impressive. They arrived on time, maintained a tidy work area, and dedicated themselves to ensuring a perfect installation of the windows.

Aaron and his team were amazing, from start to finish! They worked with us every step of the way and Aaron was always just a call or text away to answer any questions we had. The windows are perfect and we love them. We highly recommend working with Aaron and his team. They are professional, courteous and their work is top notch!
CONTACT US
Send us a Message
Window Installation Bottom
5.0+
GOOGLE RATING


