
How to Install a Storm Door
A step-by-step walkthrough for fitting a storm door correctly so it seals tight, operates smoothly, and protects your entryway for years to come.
Adding a storm door is one of the more rewarding weekend projects a homeowner can tackle - it improves insulation, keeps out insects, and gives your entry door an extra layer of weather protection. The process involves measuring carefully, attaching a frame, hanging the door panel, and adjusting the hardware until everything operates correctly. This guide from Thermo-Seal walks you through each stage, from choosing the right door to making final adjustments, so you can approach the job with confidence.
Nature's Symphony
40 Years of Experience
Certified Professionals
Superior Workmanship with Proven Reputation
Stress-Free Process
Thermo-Seal DIY Guides
The Short Answer on Installing a Storm Door
Signs Your Entry Door Could Benefit From a Storm Door
- Noticeable drafts around your entry door in cold weather
- Higher-than-expected heating or cooling bills with no other obvious cause
- Moisture or condensation forming on the inside surface of the entry door
- Peeling paint or weathered finish on an exterior wood door exposed to direct sun and rain
- Insects or debris blowing in when the entry door is open for ventilation
- A solid entry door with no glass that limits natural light in the foyer
Why the Right Fit and Preparation Matter So Much
- Incorrect measurements - buying a door that is even a quarter-inch too wide or too narrow creates gaps or forces the frame out of plumb
- Out-of-square door jambs - older homes especially may have jambs that are no longer perfectly plumb or level, which requires shimming before installation
- Deteriorated wood jambs - soft or rotted wood cannot hold screws securely, leading to a loose frame over time
- Skipping caulk and weatherstripping - without a proper seal, wind-driven rain can work behind the frame rails
- Wrong door swing selection - ordering a door that swings the wrong direction requires returning it, so always confirm hinge placement before purchasing
Tools and Materials You Will Need
- Tape measure
- Pencil or marking tool
- Drill with Phillips and drill-bit attachments
- Level (a four-foot level is ideal)
- Hacksaw or tin snips (for trimming the expander at the door bottom)
- Flathead and Phillips screwdrivers
- Utility knife
- Exterior caulk and caulk gun
- Shims (wooden or composite)
- Storm door kit sized to your opening (most include frame rails, top cap, closer, chain, latch hardware, and screws)
- Safety glasses
Step-by-Step Guide to Installing a Storm Door
Step 1: Measure the Opening Accurately
Measure the width of the door opening at the top, middle, and bottom, then use the smallest measurement to select your door size. Measure the height from the top of the door sill to the underside of the door frame header. Write both figures down and bring them to the store - most storm doors come in standard widths of 32, 34, and 36 inches.
Step 2: Inspect and Prepare the Jamb
Look closely at the door jamb for rot, soft spots, or paint build-up. Scrape away loose paint, fill minor voids with exterior wood filler, and let it cure fully. If the jamb is significantly rotted, replacing it before hanging the storm door is the right call - driving screws into compromised wood will not hold long-term.
Step 3: Determine Door Swing and Unpack the Kit
Standing inside looking out, decide whether the door should hinge on the left or the right. Check the kit contents against the parts list and identify the hinge-side rail, latch-side rail, top cap, expander, door closer, and all hardware bags before you begin.
Step 4: Attach the Hinge-Side Rail
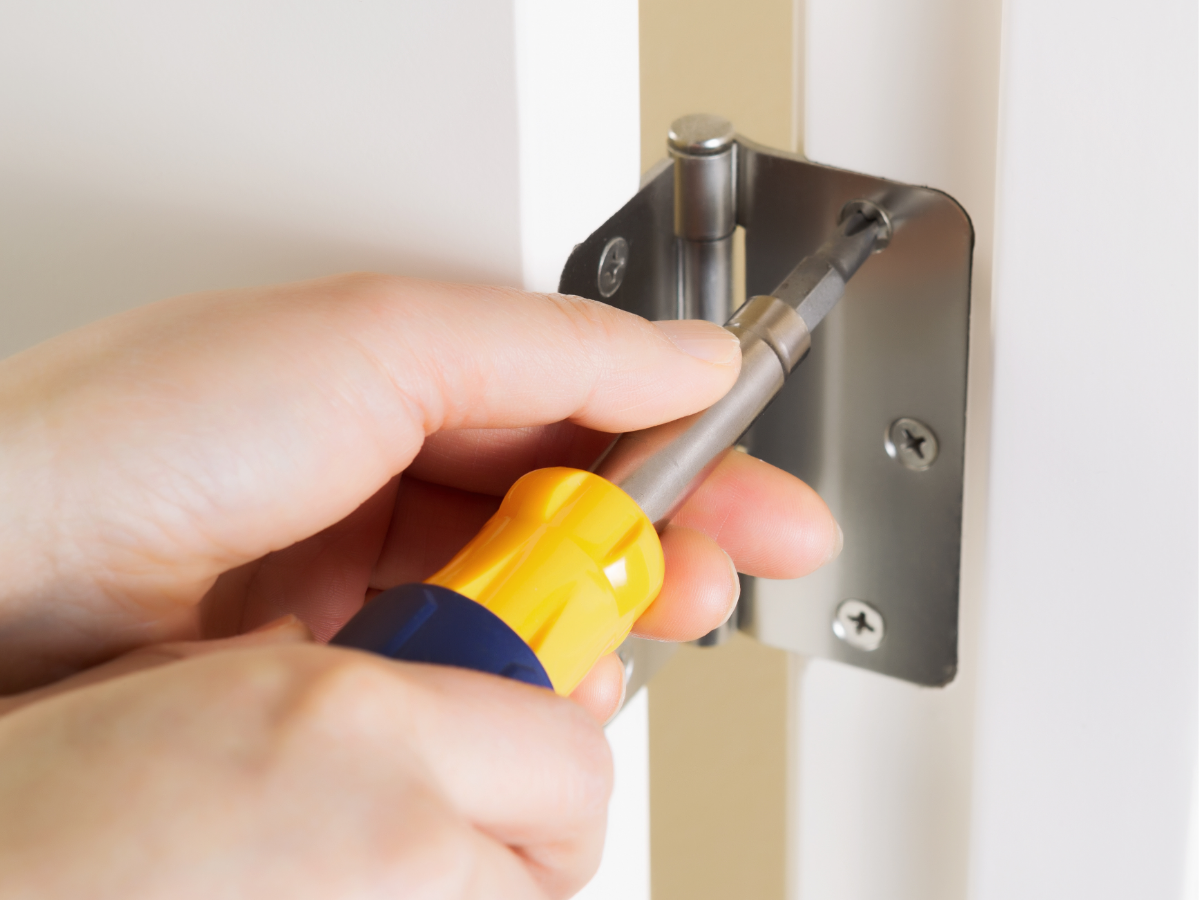
Hold the hinge-side frame rail against the hinge-side jamb. Use your level to confirm it is plumb, then drive screws through the pre-drilled holes into the jamb. Start with the top screw, recheck plumb, and work downward. Do not fully tighten until all screws are started.
Step 5: Hang the Door Panel
Slide the door panel's hinge tabs into the hinge-side rail. Lift the panel carefully - storm door panels can be heavier than they look, so a second person makes this step much easier. Once the hinges are seated, open and close the door to check that it swings freely without binding.
Step 6: Attach the Top Cap and Latch-Side Rail
Set the top cap across the top of the door opening and screw it into the header. Then bring the latch-side rail snug against the door panel edge and attach it to the jamb. The gap between the door panel and the latch-side rail should be consistent from top to bottom - shim behind the rail if needed to achieve an even reveal.
Step 7: Trim and Install the Door Bottom Expander
Slide the bottom expander onto the door panel's bottom edge. Close the door and lower the expander until it makes light contact with the sill, then tighten the set screws. Trim any excess length with a hacksaw so it does not extend past the door frame.
Step 8: Install the Door Closer and Safety Chain
Attach the door closer bracket to the door frame first, then connect the closer to the door panel bracket at the angle specified in the instructions. Set the closing speed by adjusting the tension screw on the closer body - the door should close firmly but not slam. Attach the safety chain to limit how far the door swings open in wind.
Step 9: Install Latch Hardware and Apply Caulk
Fit the latch, handle set, and strike plate according to the kit instructions. Test the latch several times to confirm it catches cleanly. Run a bead of exterior caulk along the outside edges of all three frame rails where they meet the exterior siding or brick mold. Smooth the bead with a wet finger and allow it to cure before painting if needed.
Safety Tips to Keep in Mind During Installation
- Wear safety glasses when drilling into metal frame rails or cutting the expander with a hacksaw
- Have a second person help when lifting and hanging the door panel to avoid dropping it
- Do not lean a storm door panel against an uneven surface - it can tip and shatter glass panels
- Keep children and pets away from the work area while loose hardware and tools are on the ground
- If you need to use a ladder to reach the top of a tall door frame, make sure it is on firm, level ground and have someone steady it
- Read the manufacturer instructions fully before starting - hardware placement varies by brand and skipping ahead causes mistakes
When a Storm Door Installation Points to a Bigger Problem
- Severe jamb rot that extends into the door frame or surrounding wall framing - this may indicate a long-term moisture intrusion problem requiring carpentry or structural repair
- A door opening that is significantly out of square, which can signal foundation settling or structural shifting
- Gaps between the exterior trim and the house wall that suggest failing building envelope sealing
- Damage to the sill that has allowed water to reach the subfloor below
- Any sign of mold or staining on the interior wall beside the door, which warrants further investigation before covering it with a new door unit
If you run into any of these conditions, stopping and consulting a professional before proceeding is strongly recommended.
When You Would Rather Have a Pro Handle It - Call Thermo-Seal




Request A Free Estimate
Windows Purchase
Services We Offer:

Upgrade Your Home Now & Pay Later – Interest Free!
For a limited time, enjoy convenient financing with 0% interest for up to 25 months.
Contact Info.
Phone Number:
Email Address:
Showroom:
456 Sunrise Highway, Rockville Center NY 11570 - (516) 689-7214
Rye Corporate Office:
411 Theodore Fremd Avenue, Rye NY 10580 - (914) 635-3748
Stamford Office:
263 Tresser Blvd., Stamford, CT 06901 - (203) 990-1812
Melville Office:
68 South Service Road., Melville NY 11747 - (631) 710-6937
CLIENT REVIEWS
What Our Clients Are Saying About Us
Thermo-seal Windows provides exceptional customer service alongside high-quality products. Recently, I had the majority of my home's windows replaced by Aaron's team, and their performance was nothing short of impressive. They arrived on time, maintained a tidy work area, and dedicated themselves to ensuring a perfect installation of the windows.

Aaron and his team were amazing, from start to finish! They worked with us every step of the way and Aaron was always just a call or text away to answer any questions we had. The windows are perfect and we love them. We highly recommend working with Aaron and his team. They are professional, courteous and their work is top notch!
CONTACT US
Send us a Message
Window Installation Bottom
5.0+
GOOGLE RATING


