
How to Fix a Door That Sticks
A sticking door is frustrating to live with, but in most cases the cause is straightforward and the repair is something a handy homeowner can tackle in an afternoon.
A door that drags, binds, or refuses to close cleanly is one of those problems that only seems to get worse with time. Seasonal humidity, settling foundations, loose hardware, and worn paint can all play a role. This guide from Thermo-Seal walks you through how to diagnose exactly where your door is catching, what tools you need, and the most effective fixes - from a quick sand to a full hinge reset.
Nature's Symphony
40 Years of Experience
Certified Professionals
Superior Workmanship with Proven Reputation
Stress-Free Process
Thermo-Seal DIY Guides
The Short Answer on Fixing a Sticking Door
Signs Your Door Is Starting to Stick
- The door requires noticeably more force to open or close than it used to
- You can see a visible rub mark or paint scrape along one edge of the door or frame
- The latch does not line up cleanly with the strike plate and you have to lift or push the door to engage it
- There is an uneven gap around the door - wider at the top or bottom on one side
- The door swings open or closed on its own, suggesting the frame is no longer plumb
- Seasonal changes make the problem worse in summer or after wet weather
Why Doors Stick - Common Causes
- Moisture and humidity - wood doors absorb moisture and swell, especially in summer or after heavy rain
- Loose or worn hinge screws - when screws strip out of the frame, the door sags and the alignment shifts
- Paint buildup - layers of paint along the door edge or in the hinge mortise can be enough to cause binding
- Foundation or framing movement - gradual settling, especially in older homes, can push door frames out of square
- Warped door - a door that has cupped or twisted along its length will not sit flat in the frame
- Hinge mortise cut too shallow or too deep - this is a common issue after a door or hardware replacement
Tools and Materials You Will Need
- Flathead and Phillips screwdrivers
- Cordless drill
- Longer replacement screws (3-inch wood screws work well for stripped hinge holes)
- Wooden toothpicks or golf tees and wood glue (for filling stripped screw holes)
- Carpenter's pencil or chalk
- Sandpaper (medium and fine grit) or a sanding block
- Hand plane or belt sander (for more significant material removal)
- Painter's tape
- Exterior primer and paint to reseal bare wood
- Shims (if rehanging or adjusting hinges)
- Safety glasses and dust mask
Step-by-Step Guide to Fixing a Sticking Door
Step 1: Find the exact contact point
Open and close the door slowly while watching the edges carefully. Run a piece of chalk or a carpenter's pencil along the door edges, then close it - the chalk will transfer to the frame at the point of contact. This tells you exactly where material needs to be removed or hardware needs to move.
Step 2: Check and tighten all hinge screws
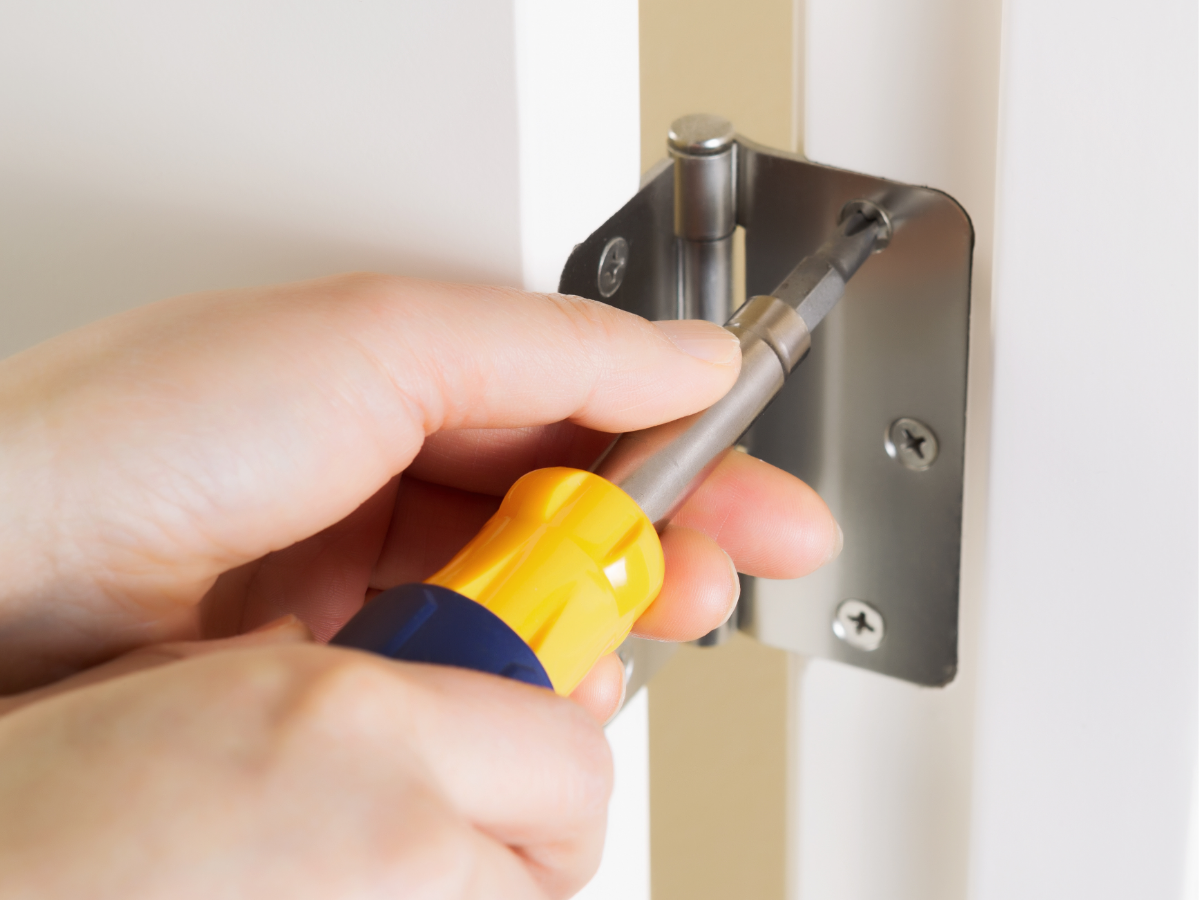
Before removing the door, tighten every hinge screw on both the door and the frame. If screws spin without tightening, the hole is stripped. Remove the screw, dip a toothpick or golf tee in wood glue, pack it into the hole, let it dry, then reinsert the screw. This simple fix resolves a surprising number of sticking doors without any further work.
Step 3: Test the door again after tightening
Close and open the door several times after tightening. If it moves freely now, you are done. If it still sticks, move on to the next step.
Step 4: Sand or plane the contact area
For light sticking, use medium-grit sandpaper on a sanding block along the marked contact area. Work gradually and test frequently - you want to remove just enough material for clearance, not create a visible gap. For more significant binding, a hand plane or belt sander will remove material faster. Always work with the grain of the wood when planing.
Step 5: Address hinge depth if needed
If one hinge appears to sit too deep (causing the door to bind on the latch side) or too shallow (causing binding near that hinge), you can correct this. A hinge sitting too deep can be shimmed with thin cardboard placed behind it in the mortise. A hinge sitting proud of the surface means the mortise needs to be deepened slightly with a chisel.
Step 6: Seal and repaint any bare wood
Wherever you sanded, planed, or adjusted, bare wood is now exposed to moisture. Apply an exterior primer and finish with a paint that matches the door. This step is important - skipping it often means the door swells again in the next wet season and you are back to square one.
Safety Tips to Keep in Mind
- Wear safety glasses when planing, sanding, or chiseling to protect against flying debris
- Use a dust mask when sanding, especially on older painted doors where lead paint may be present
- If the home was built before 1978, test the paint for lead before sanding - Thermo-Seal is an EPA Lead-Safe Certified Firm and can help if you suspect lead paint in older homes
- Support the door properly if you remove it from the hinges - solid wood doors are heavy and can fall or cause injury
- Do not force a door that is severely binding - excessive force can crack the frame or damage the door
- Keep children and pets away from the work area when using sharp tools or power sanders
When a Sticking Door Points to a Bigger Problem
- Multiple doors and windows suddenly sticking at the same time, which can indicate foundation settlement or structural movement
- Visible cracks in the wall or ceiling near the door frame, especially diagonal cracks from corners
- The door frame itself appears visibly racked or out of square when measured
- The door has warped so severely that no amount of sanding or adjustment brings it back into alignment - replacement is likely the better solution
- Water damage or rot along the bottom of the door or frame, which compromises structural integrity and cannot be fixed by planing alone
- Gaps between the frame and the surrounding wall that were not there before
Still Dealing With a Stubborn Door - Thermo-Seal Can Help




Request A Free Estimate
Windows Purchase
Services We Offer:

Upgrade Your Home Now & Pay Later – Interest Free!
For a limited time, enjoy convenient financing with 0% interest for up to 25 months.
Contact Info.
Phone Number:
Email Address:
Showroom:
456 Sunrise Highway, Rockville Center NY 11570 - (516) 689-7214
Rye Corporate Office:
411 Theodore Fremd Avenue, Rye NY 10580 - (914) 635-3748
Stamford Office:
263 Tresser Blvd., Stamford, CT 06901 - (203) 990-1812
Melville Office:
68 South Service Road., Melville NY 11747 - (631) 710-6937
CLIENT REVIEWS
What Our Clients Are Saying About Us
Thermo-seal Windows provides exceptional customer service alongside high-quality products. Recently, I had the majority of my home's windows replaced by Aaron's team, and their performance was nothing short of impressive. They arrived on time, maintained a tidy work area, and dedicated themselves to ensuring a perfect installation of the windows.

Aaron and his team were amazing, from start to finish! They worked with us every step of the way and Aaron was always just a call or text away to answer any questions we had. The windows are perfect and we love them. We highly recommend working with Aaron and his team. They are professional, courteous and their work is top notch!
CONTACT US
Send us a Message
Window Installation Bottom
5.0+
GOOGLE RATING


