
How to Adjust Door Hinges
A practical walkthrough for diagnosing hinge problems and getting your door swinging smoothly again without a full replacement.
A door that sticks, rubs, or won't latch properly is one of the most common frustrations homeowners deal with - and in many cases, the fix is simpler than you might think. Loose, misaligned, or worn hinges are behind a surprising number of door problems. This guide from Thermo-Seal walks you through how to identify the issue, gather the right tools, and adjust your door hinges step by step so the door operates the way it should.
Nature's Symphony
40 Years of Experience
Certified Professionals
Superior Workmanship with Proven Reputation
Stress-Free Process
Thermo-Seal DIY Guides
The Short Answer on Adjusting Door Hinges
Signs Your Door Hinges Need Attention
- The door drags or scrapes along the floor or threshold when opening or closing
- One corner of the door catches against the frame or strike plate
- The latch bolt no longer lines up cleanly with the strike plate hole
- You can see a gap between the door and frame that is wider on one side than the other
- Hinge screws are visibly loose, backing out, or the hinge plate is pulling away from the wood
- The door swings open or closed on its own instead of staying where you leave it
Why Door Hinges Fall Out of Adjustment
- Heavy daily use gradually loosens screws, especially in busy entryways
- Wood shrinks and swells with seasonal humidity changes, shifting the door in the frame
- Painted-over hinges build up thickness that changes how the hinge sits
- Screw holes stripped over time no longer grip the fastener
- Settlement in the home's structure shifts the door frame itself out of square
- Hinges that were not fully mortised at installation sit proud and cause the door to bind on the latch side
- Worn or corroded hinge pins allow the knuckles to wobble, creating play in the door
Tools and Materials You Will Need
- Flathead and Phillips screwdrivers (or a power drill with screwdriver bits)
- Longer replacement screws - typically 3-inch wood screws to reach the stud or deeper framing
- Wooden toothpicks or golf tees and wood glue (for repairing stripped holes)
- A chisel and mallet (for deepening a mortise if needed)
- Cardboard or thin shim material (to raise a hinge that sits too deep)
- Needle-nose pliers or a hinge adjustment tool (for bending hinge leaves)
- A utility knife
- Sandpaper (medium grit)
- A level or framing square (optional but helpful)
- Replacement hinge screws or hinge pins if originals are damaged
Step-by-Step Instructions for Adjusting Door Hinges
Step 1: Open the door and inspect all hinges
With the door open, look at every hinge carefully. Check whether any screw heads are raised above the surface, any hinge plates are pulling away from the frame or door edge, and whether the hinge knuckles show visible wobble or wear. Note which hinge or hinges look problematic before picking up any tools.
Step 2: Tighten all loose screws
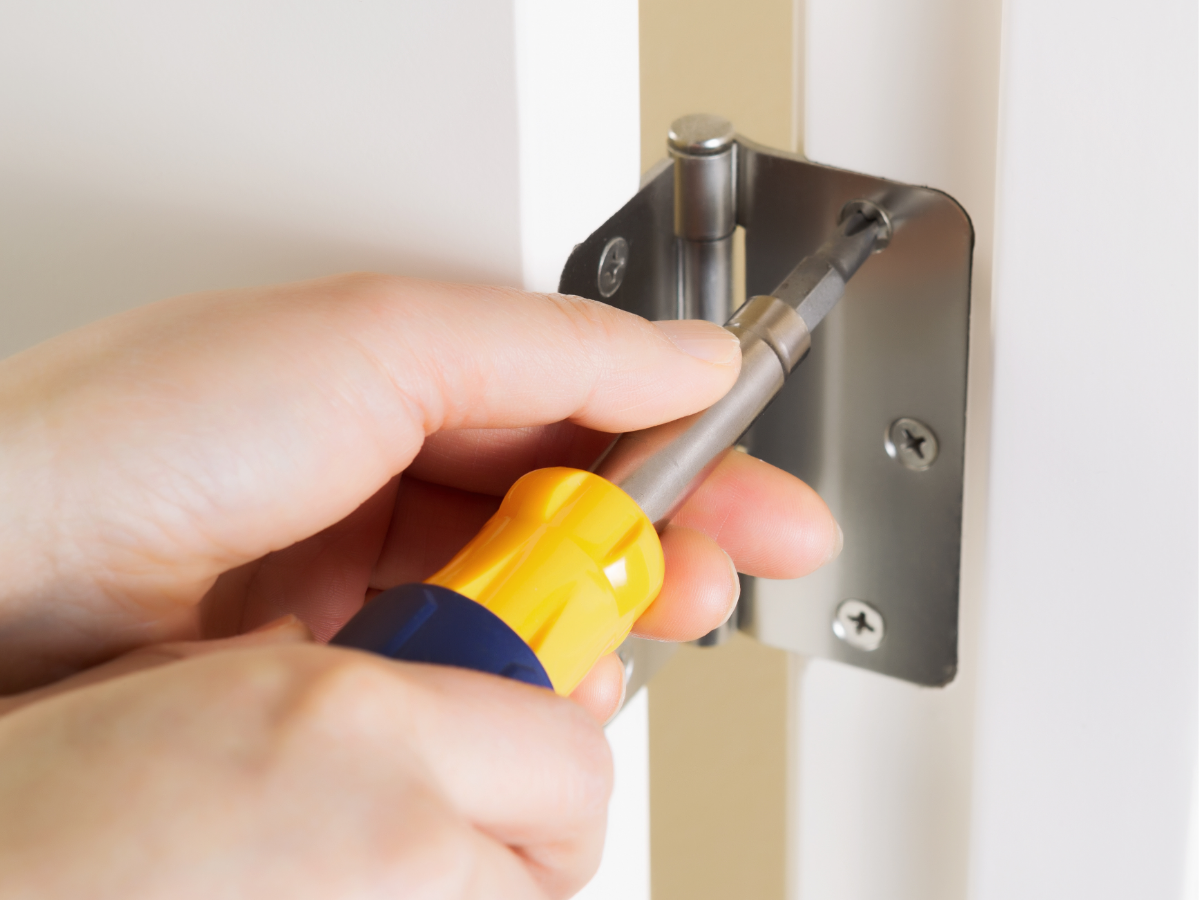
Using a screwdriver, firmly tighten every screw in both the door-side and frame-side hinge leaves. Work from the top hinge down. A screw that tightens solidly is fine. A screw that just spins means the hole is stripped - move to Step 3 for those.
Step 3: Repair any stripped screw holes
For stripped holes, the most reliable fix is to fill the void with wooden material before re-driving. Dip a toothpick or small piece of a golf tee in wood glue, tap it into the hole, snap it flush, and let it dry fully - usually at least an hour. Then drive the original screw back in. Alternatively, replace stripped screws with longer 3-inch screws that reach into the framing behind the jamb for a much stronger hold.
Step 4: Test the door
Close and latch the door. Check where it binds or gaps. A door that rubs at the top latch corner usually has a loose or recessed top hinge. A door that rubs at the bottom latch corner often has a loose bottom hinge. This will guide your next adjustment.
Step 5: Shim a hinge that sits too deep
If a hinge leaf was mortised too deeply into the wood, the door will bind on the opposite side. Cut a piece of thin cardboard to the exact shape of the hinge mortise. Remove the hinge screws, slip the cardboard shim into the mortise, and reinstall the hinge over it. This raises the hinge leaf slightly and pushes the door toward the strike side. Add shims gradually and test after each one.
Step 6: Deepen a mortise that is too shallow
If a hinge sits proud of the wood surface rather than flush, the hinge side of the door will bind. Use a sharp chisel and mallet to carefully deepen the mortise by small increments. Work slowly, pare across the grain, and test the fit frequently to avoid removing too much material.
Step 7: Adjust the hinge leaf angle for fine correction
For doors that still do not hang quite right after Steps 1 through 6, the hinge leaf can be bent very slightly to nudge the door position. Remove the hinge from the door or frame, place it on a firm surface, and use needle-nose pliers to gently open or close the gap between the two leaves by a small amount. Even a fraction of a degree makes a noticeable difference. Reinstall and test before making further adjustments.
Step 8: Check and adjust the strike plate if needed
Once the door hangs correctly, verify that the latch bolt meets the strike plate cleanly. If the bolt hits above or below the strike plate opening, loosen the strike plate screws and shift the plate in the needed direction, then retighten. File the strike plate opening slightly if the bolt catches on an edge.
Safety Tips to Keep in Mind
- Keep fingers clear of the hinge knuckles when someone else is moving the door during testing
- Wear safety glasses when chiseling - small wood chips can travel unpredictably
- Do not force a stuck door open with your body weight before diagnosing the cause - you could crack the frame or injure yourself
- If the door is a fire-rated entry door, restore it to fully operational condition promptly and do not leave it propped open for extended periods
- Use the correct screw length - screws that are too long can split the jamb or door stile
When Hinge Problems Point to Something More Serious
- Multiple doors throughout the home are sticking or shifting at the same time - this can indicate foundation settlement or structural movement
- The door frame is visibly racked, bowed, or out of square and cannot be corrected by hinge work alone
- Wood around the hinges is soft, spongy, or discolored - a sign of moisture intrusion or rot that compromises the entire frame
- The door itself is warped beyond what hinge adjustment can compensate for
- Weather stripping gaps are so large that air or water is entering despite hinge corrections
- An exterior door shows daylight around the frame edges after adjustment - this points to frame or threshold failure, not just hinges
When It Is Time to Call a Door Professional




Request A Free Estimate
Windows Purchase
Services We Offer:

Upgrade Your Home Now & Pay Later – Interest Free!
For a limited time, enjoy convenient financing with 0% interest for up to 25 months.
Contact Info.
Phone Number:
Email Address:
Showroom:
456 Sunrise Highway, Rockville Center NY 11570 - (516) 689-7214
Rye Corporate Office:
411 Theodore Fremd Avenue, Rye NY 10580 - (914) 635-3748
Stamford Office:
263 Tresser Blvd., Stamford, CT 06901 - (203) 990-1812
Melville Office:
68 South Service Road., Melville NY 11747 - (631) 710-6937
CLIENT REVIEWS
What Our Clients Are Saying About Us
Thermo-seal Windows provides exceptional customer service alongside high-quality products. Recently, I had the majority of my home's windows replaced by Aaron's team, and their performance was nothing short of impressive. They arrived on time, maintained a tidy work area, and dedicated themselves to ensuring a perfect installation of the windows.

Aaron and his team were amazing, from start to finish! They worked with us every step of the way and Aaron was always just a call or text away to answer any questions we had. The windows are perfect and we love them. We highly recommend working with Aaron and his team. They are professional, courteous and their work is top notch!
CONTACT US
Send us a Message
Window Installation Bottom
5.0+
GOOGLE RATING


